
Come preparare i file passanti? Guida passo dopo passo
Stai pianificando un’esposizione composta da più elementi di un sistema, ma con un’unica grafica comune? Scopri come preparare correttamente i file passanti per evitare spostamenti e correzioni prima della stampa.
Quando e perché utilizzare i file passanti?
I file passanti devono essere preparati ogni volta che si desidera unire più elementi rettangolari in un’unica grafica. Di solito si tratta di cornici tessili o cassettoni LED, posizionati uno accanto all’altro. Grazie al passaggio, puoi essere sicurə che l’insieme apparirà come un’unica immagine e non come più pannelli separati.
Per preparare i file passanti, il progetto deve essere suddiviso in più file. Ognuno di essi dovrebbe contenere una parte della grafica del precedente. Questa sezione ripetuta è la cosiddetta area comune, che permette di mantenere la continuità dell’immagine.
Perché è così importante? Tra i sistemi compaiono sempre piccoli spazi o spostamenti dovuti alla cucitura del keder, al taglio, allo spessore dei profili o al montaggio stesso. Inoltre, il materiale può restringersi leggermente e parte della grafica viene utilizzata per le aree tecniche. Quando i file vengono preparati “a filo”, linee e motivi possono facilmente disallinearsi, e i bordi laterali ripiegati all’interno delle cornici e cuciti con il keder interrompono la continuità dell’immagine. Grazie all’area comune, la grafica si compone in un insieme coerente – passa senza interruzioni da una cornice all’altra e appare esattamente come previsto dal progetto.
Corretto
Errato
Come preparare i file passanti?
La regola per preparare i file passanti è semplice: ogni file successivo deve contenere 4 cm* dell’immagine precedente, così da mantenere la continuità grafica. Di seguito trovi uno schema basato sulle linee guida di stampa per 100×250 cm:
Come preparare i file passanti in pratica? Segui questa breve istruzione preparata dal nostro team grafico:
*Attenzione!
Per i sistemi SEGO l’area comune è di 3 cm. Questa è l’eccezione alla regola.
Conclusione
La preparazione dei file passanti può sembrare complicata, ma in pratica si riduce a poche semplici regole. Lavora sempre con le linee guida scaricate dal sito, rispetta le dimensioni e lascia un’area comune – 4 cm (oppure 3 cm nel caso dei sistemi SEGO) tra i vari file. In questo modo la grafica passerà senza interruzioni attraverso tutti i sistemi, senza spazi o disallineamenti.
Se segui questo schema, la tua esposizione sarà pienamente conforme al progetto e, inoltre, eviterai inutili correzioni e stress poco prima della stampa.
- Stampa
 Rivoluzione nella produzione dei pannelli LED luminosi – più veloce e più precisa
Non ami l’atmosfera frenetica prima di una fiera? Nemmeno noi. Per questo motivo, invece di inseguire il tempo, abbiamo deciso di anticiparlo. Nel nostro parco macchine abbiamo introdotto un nuovo dispositivo – il plotter da taglio ZUND. ZUND automatizza il processo di taglio, aumenta la precisione e riduce al minimo il rischio di errore. Scopri come questa nuova macchina può accelerare la realizzazione del tuo prossimo ordine.
- Stampa
 Come preparare i file passanti? Guida passo dopo passo
Stai pianificando un’esposizione composta da più elementi di un sistema, ma con un’unica grafica comune? Scopri come preparare correttamente i file passanti per evitare spostamenti e correzioni prima della stampa.
- MarketingStampa
 Tecnologia AR: dalla visualizzazione alla realizzazione
La tecnologia AR è un supporto moderno nel processo di acquisto. Aiuta a evitare errori e a non comprare, come si suol dire, a scatola chiusa. Scopri cos’è davvero questa tecnologia e come può esserti utile durante lo shopping online.
- Stampa
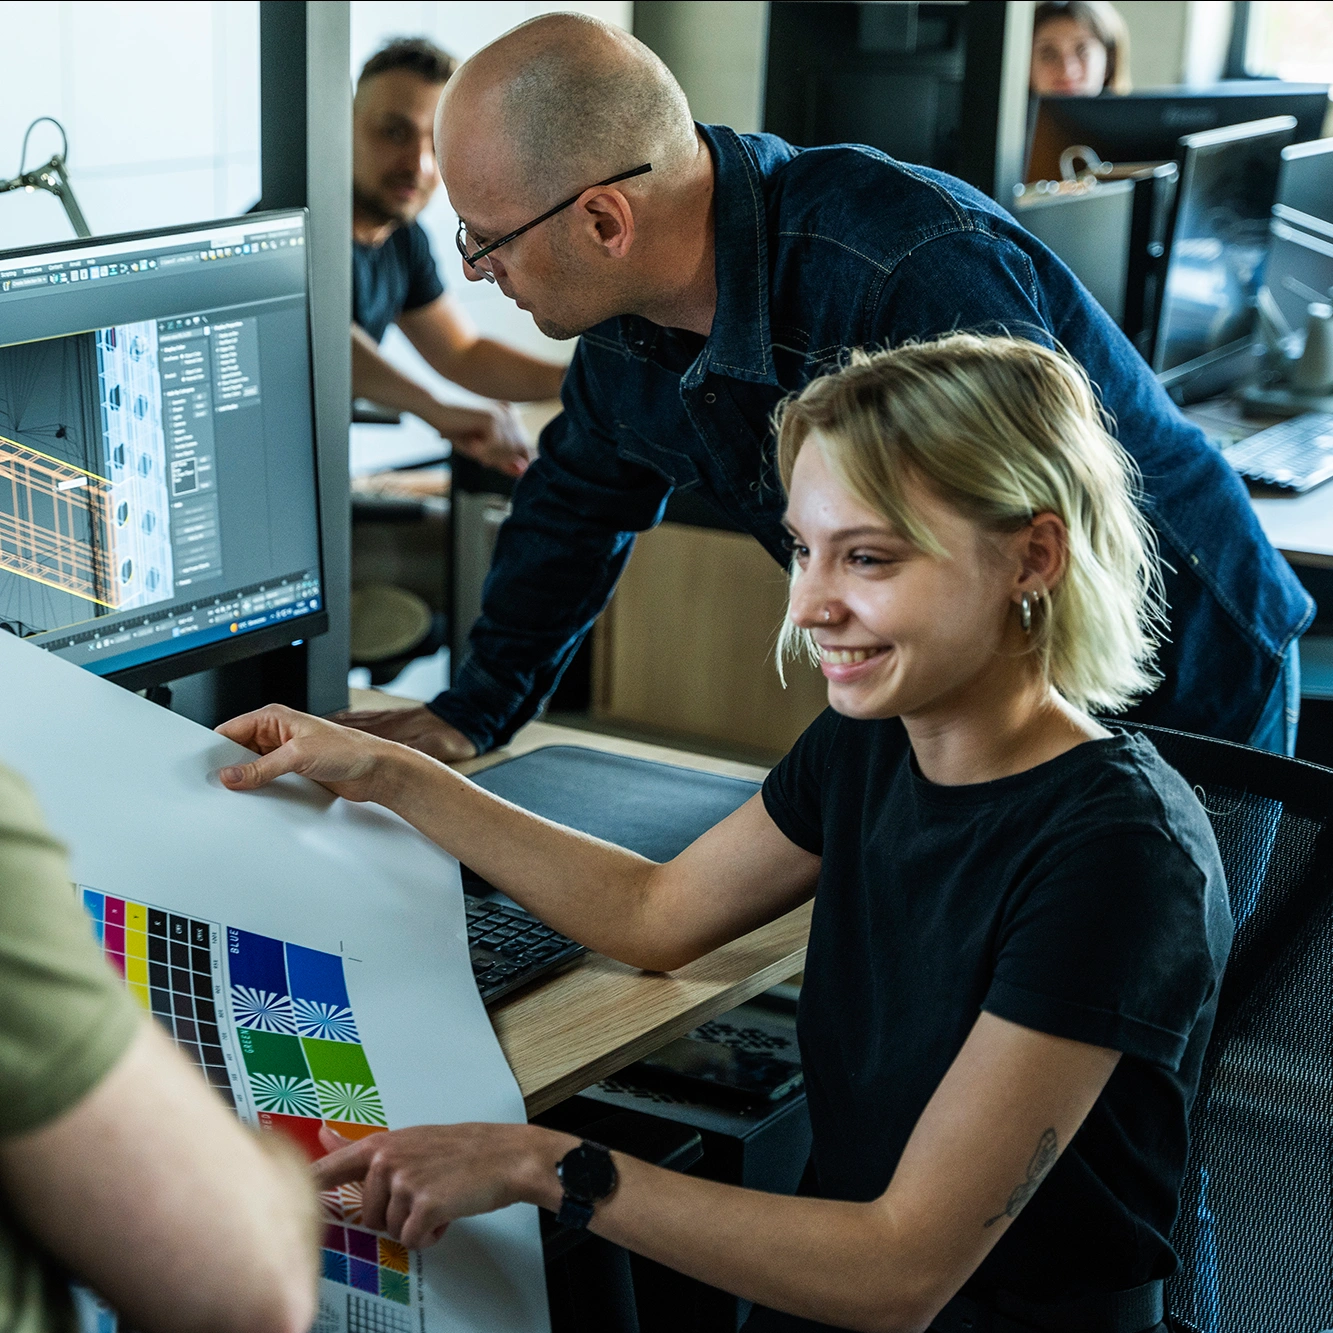
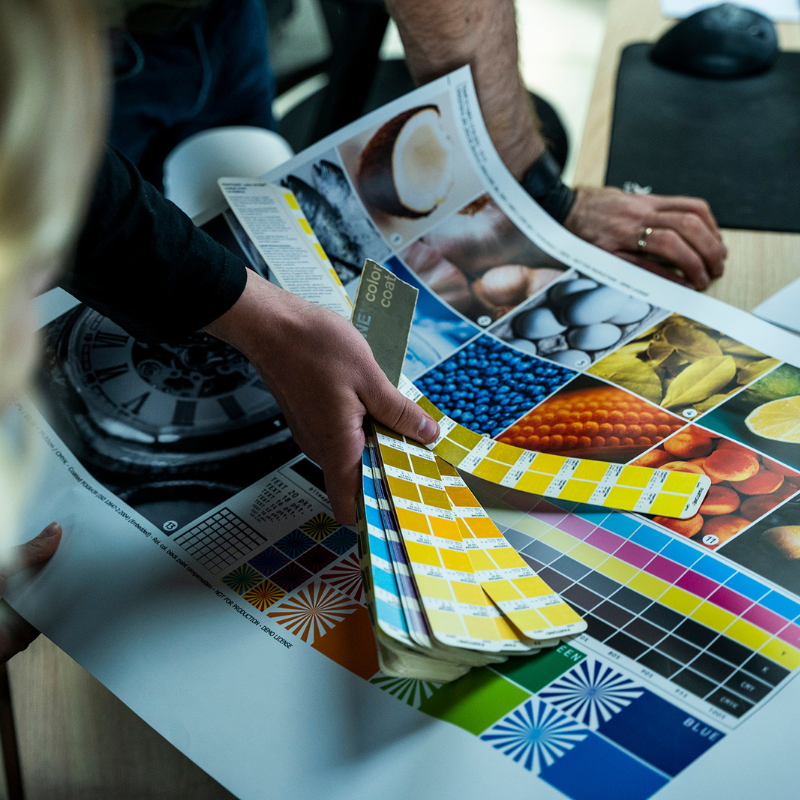 Verifica dei file: la chiave per una gestione dell’ordine senza intoppi
Non sei sicuro che i tuoi file rispettino le linee guida? Su adsystem utilizziamo un sistema avanzato di File Checker e l’esperienza dei nostri grafici per eliminare gli errori tecnici sin dalle prime fasi del processo. Scopri cosa include la nostra verifica e a cosa devi prestare attenzione come cliente.
- Stampa
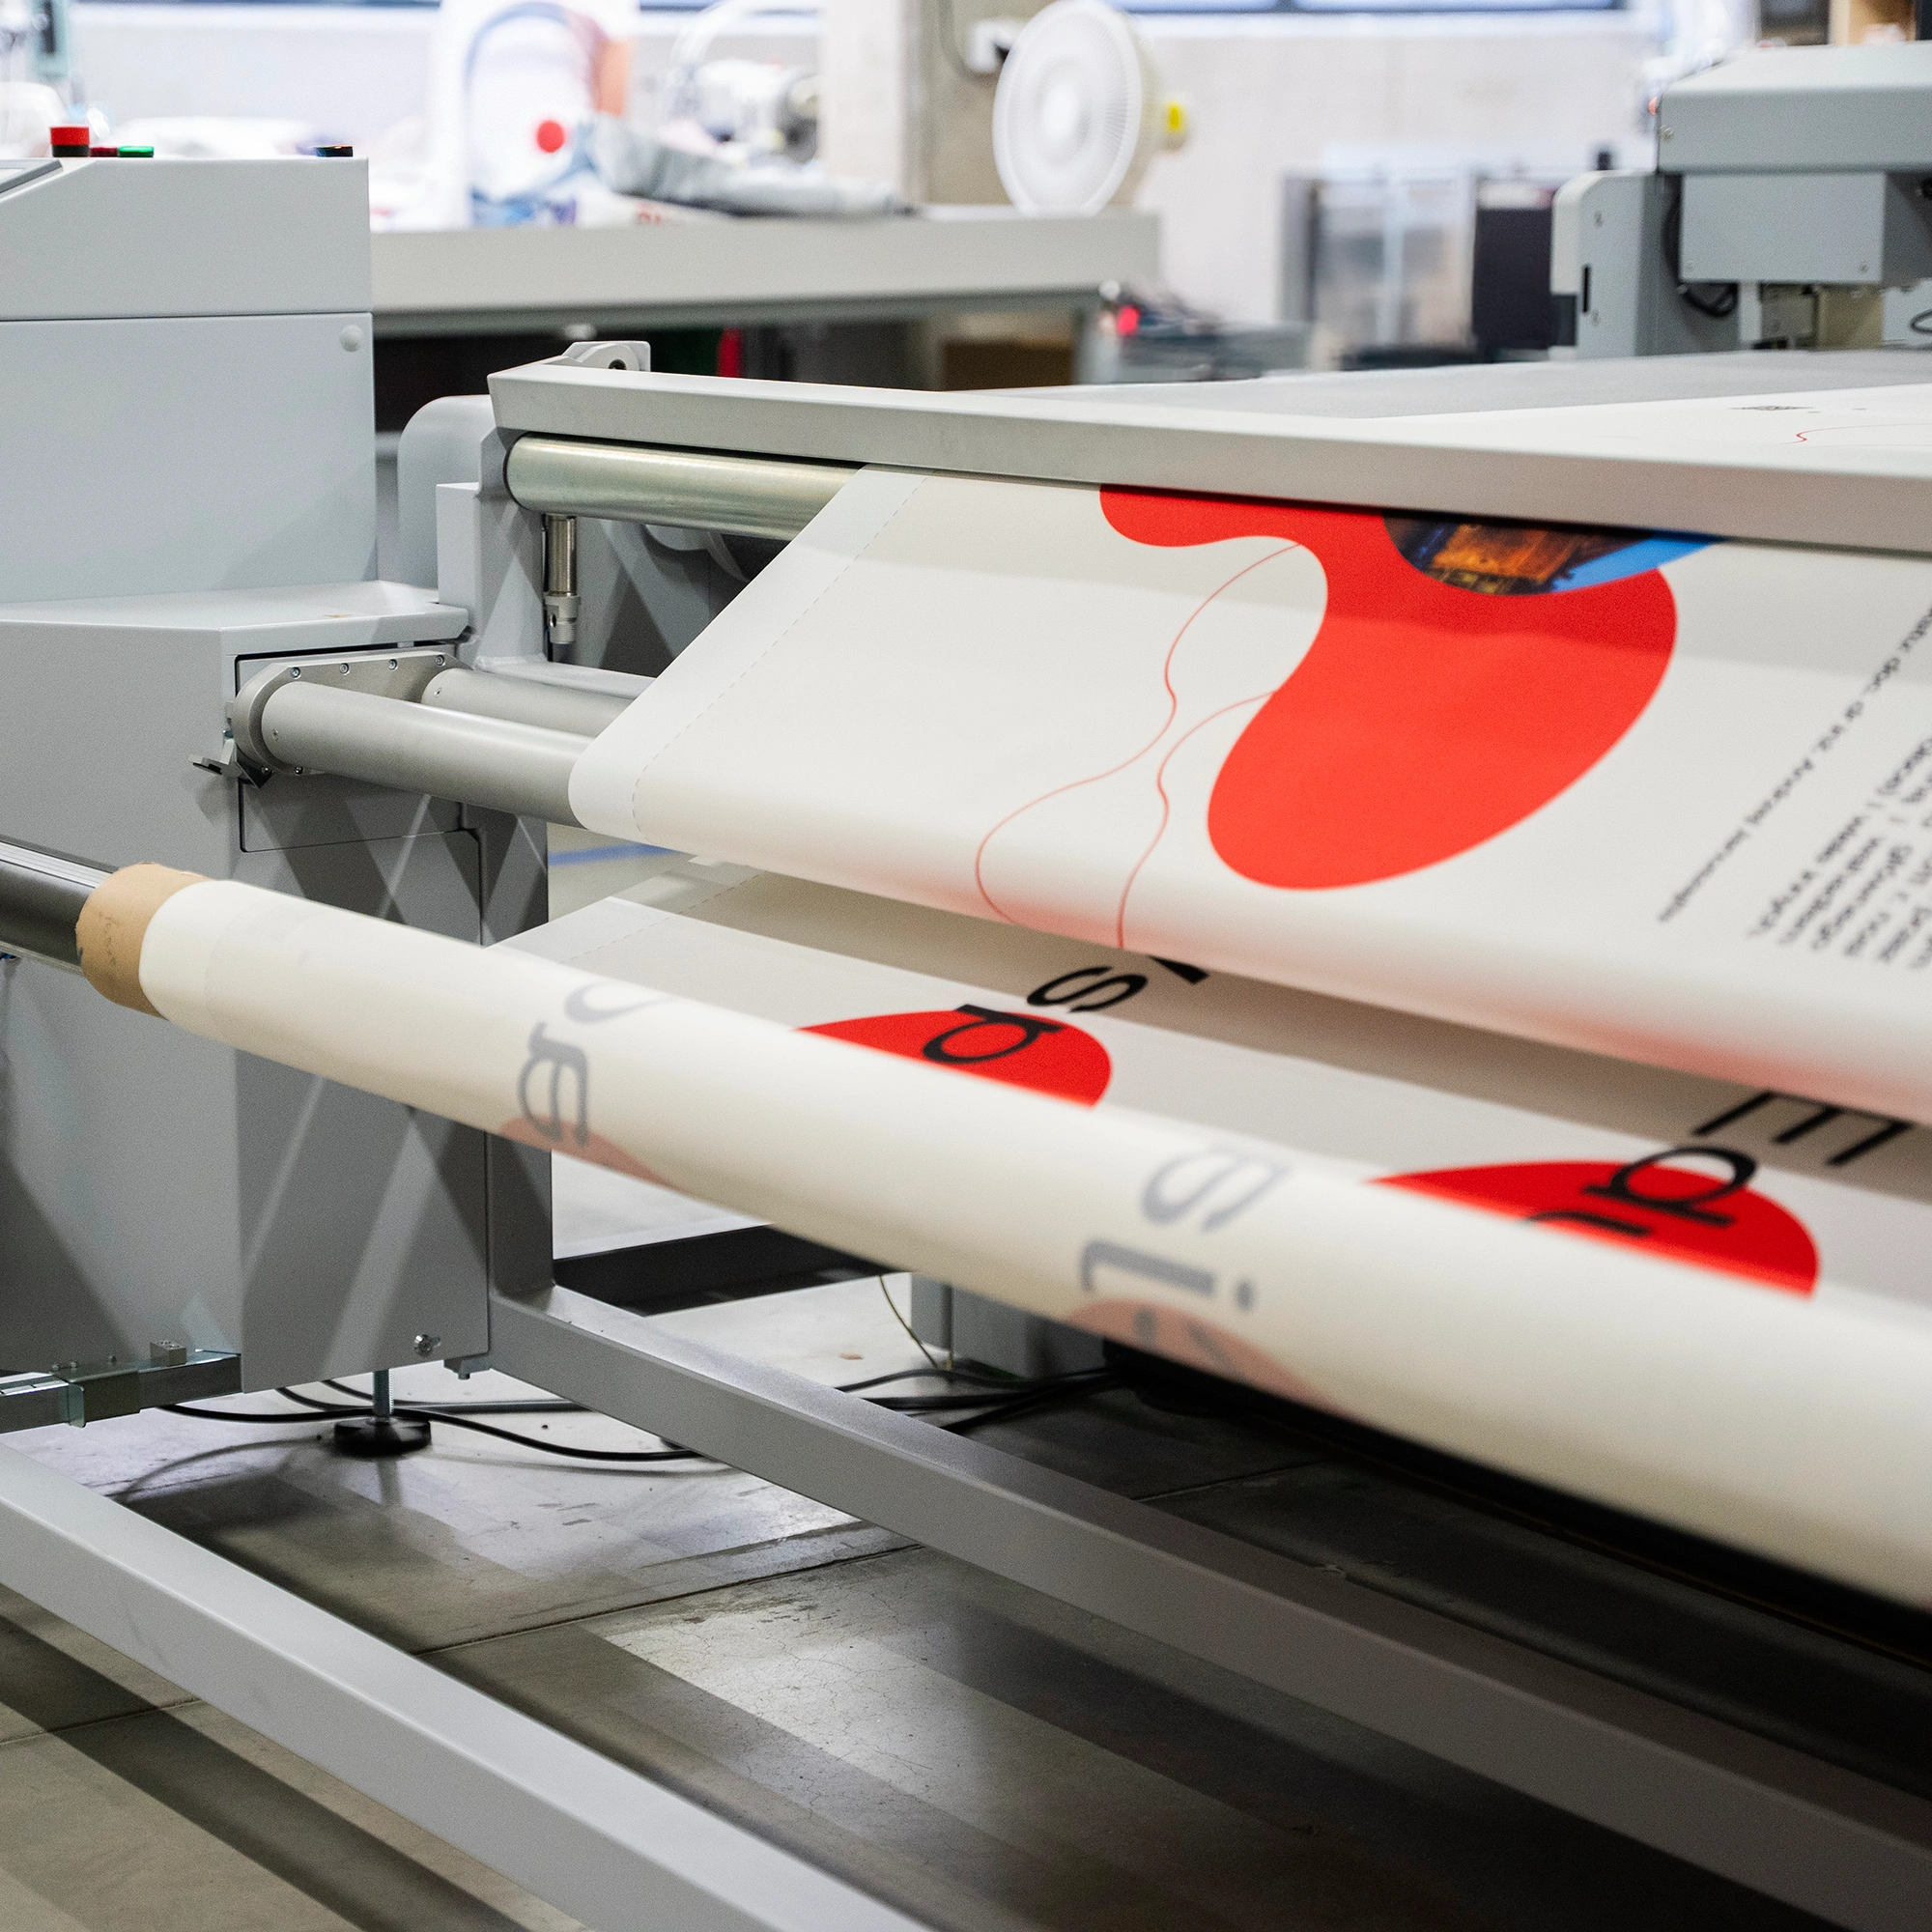
 Stampa a sublimazione: come ottenere grafiche di alta qualità su tessuto
Colori intensi, dettagli nitidi e resistenza all’usura: sono queste le caratteristiche che rendono i materiali pubblicitari davvero efficaci. Come ottenere questo effetto sui tessuti? La sublimazione è una tecnica collaudata che assicura la massima qualità di stampa.