How to prepare your design for printing? Error messages


Are you planning to place an order in our store, but having trouble preparing your files for printing? Check out the list of the most common problems identified by PDF Checker. We’ve provided solutions for each issue to help you eliminate unwanted printing errors.
Common error and warning messages
Errors in print files can affect the quality of your project. That's why all graphics uploaded to the site are automatically checked by the PDF Checker system. To make sure your project is accepted, review the printing guidelines provided on each product page. You’ll find tips on how to save files, their size, and color requirements.
If your project meets the guidelines, it will be sent to the next stage of processing. However, if the system detects any issues, the file will be paused, and you’ll receive an appropriate warning.
The file contains colors other than CMYK
If the PDF Checker shows this message, it means your file contains elements in a color space other than CMYK. CMYK colors are the four basic printing ink colors. Using them ensures your graphic maintains the desired quality. Printing in a different color space is possible, but colors will be less vivid than what you see on the screen.
This message usually applies to images, which simply need to be converted to CMYK. It’s a warning, not a critical error.
Solution:
Adobe Photoshop: Open the file, go to “Image” > “Mode” > “CMYK”, then save the file.
Adobe Illustrator: Open the file, go to “Edit” > “Edit Colors” > “Convert to CMYK”, then save the file.
CorelDraw: Open the file, go to “Bitmaps” > “Convert to CMYK”, then save the file.
Affinity Designer: Open the file, go to “Document” > “Color” > “CMYK”, then save the file.
Affinity Photo: Open the file, go to “Document” > “Color” > “CMYK”, then save the file.
The file contains RGB colors
If the PDF Checker shows this message, it means your file contains elements in the RGB color space. These colors are designed for screens, not printing. Printing in RGB is possible, but colors will be less vivid than what you see on the screen. Sometimes, your project might include both CMYK and RGB colors.
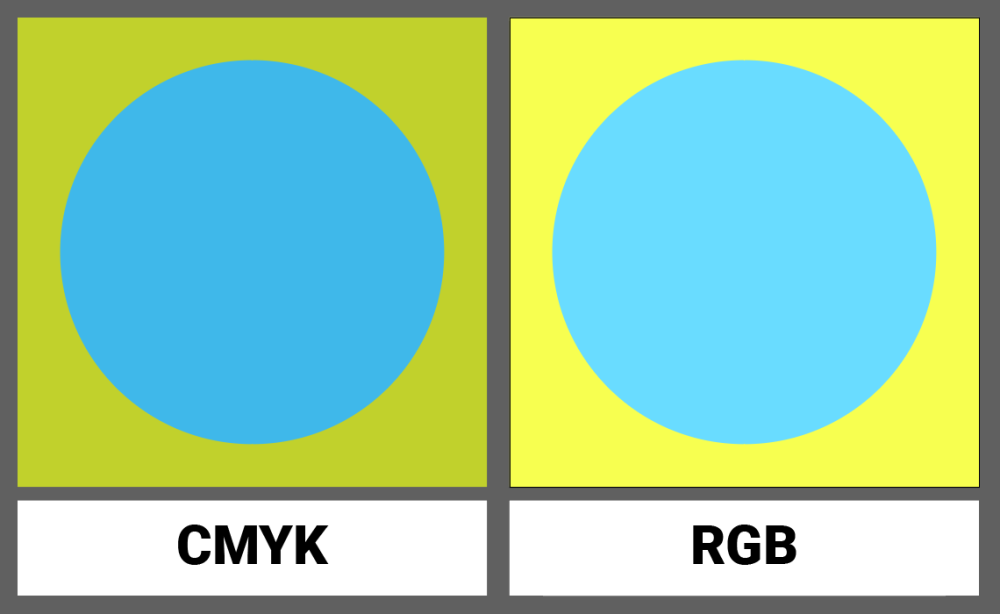
This message usually applies to images that need to be converted to CMYK to achieve the correct color scheme. It’s a warning, not a critical error.
Solution:
Adobe Photoshop: Open the file, go to “Image” > “Mode” > “CMYK”, then save the file.
Adobe Illustrator: Open the file, go to “Edit” > “Edit Colors” > “Convert to CMYK”, then save the file.
CorelDraw: Open the file, go to “Bitmaps” > “Convert to CMYK”, then save the file.
Affinity Designer: Open the file, go to “Document” > “Color” > “CMYK”, then save the file.
Affinity Photo: Open the file, go to “Document” > “Color” > “CMYK”, then save the file.
The file contains PANTONE colors
If the PDF Checker shows this message, it means that the file contains elements in the PANTONE color space. This color space is prepared before printing and applied separately. This service is not available in our printing house. PANTONE colors will be automatically converted to CMYK. However, to maintain the best quality and accurate color reproduction, we recommend manually converting the files.
Solution:
Adobe Illustrator: Open the file, go to “Edit” > “Edit Colors” > “Convert to CMYK”, then save the file.
CorelDraw: Open the file, go to “Arrange” > “Convert to CMYK”, then save the file.
The file contains the overprint attribute
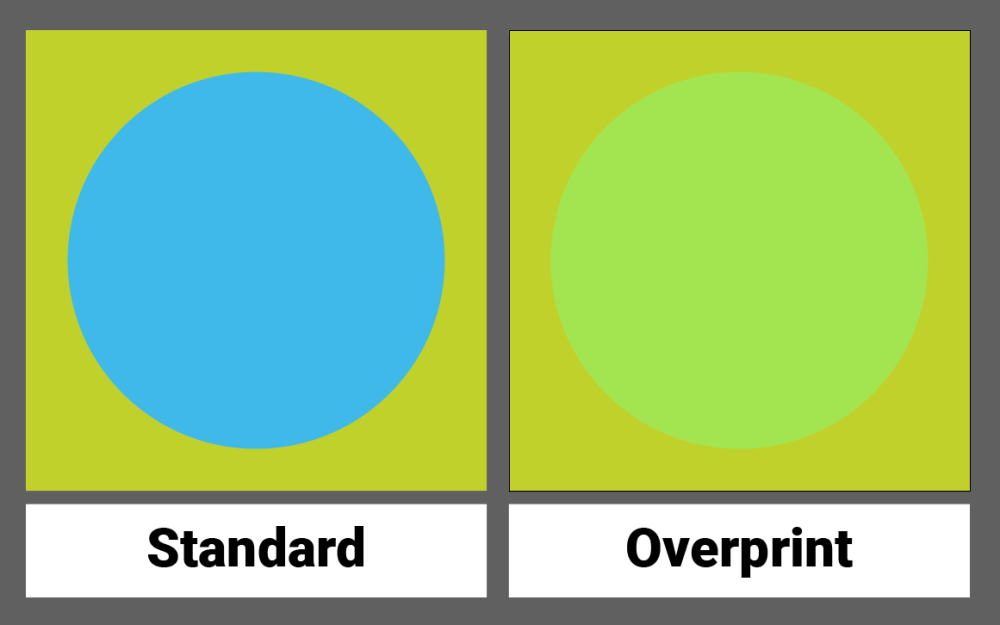
If the PDF Checker shows this message, it means that the file contains the overprint attribute. This refers to a specific element that should be printed separately and applied over the final design. Overprint often appears accidentally, for example, when copying a logo from another document.
Our printing house does not offer overprint services. Therefore, if files contain the overprint attribute, printing may result in mixed colors or altered shades of certain objects. For example, black elements may turn gray, yellow printed over a blue background may appear green, and white elements may disappear completely. Black objects on a white background usually retain their properties.
Solution:
Adobe Illustrator: Open the file, select the problematic elements, go to the “Window” menu, choose “Attributes”, uncheck “Overprint Fill”, then save the file.
Adobe InDesign: Open the file, select the problematic elements, go to the “Window” menu, choose “Attributes”, uncheck “Overprint Fill”, then save the file.
Fonts have not been converted to outlines
If the PDF Checker shows this message, it means that the file contains text that can still be edited. To avoid any printing issues—such as changes in font type or size—all fonts should be converted to outlines. This process turns editable text into non-editable objects, ensuring they remain unchanged when the file is opened.
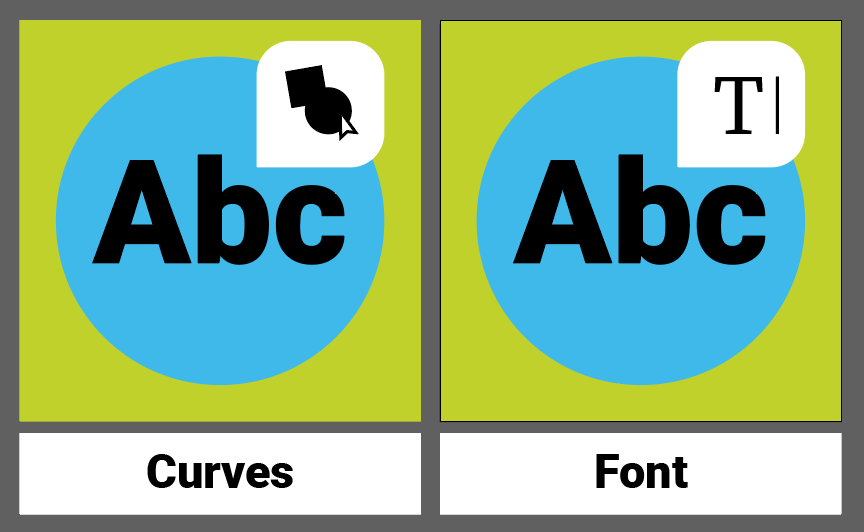
For safety reasons, we do not accept files with embedded fonts, even if they have been encoded within the file. Every project requires converting fonts to outlines.
Solution:
Adobe Illustrator: Open the file, select all text, go to the “Type” menu, choose “Create Outlines”, then save the file.
Adobe InDesign: Open the file, select all text, go to the “Type” menu, choose “Create Outlines”, then save the file.
CorelDraw: Open the file, select all text, go to the “Text” menu, choose “Convert to Curves”, then save the file.
Affinity Designer: Open the file, select all text, go to the “Text” menu, choose “Convert to Curves”, then save the file.
Affinity Photo: Open the file, select all text, go to the “Text” menu, choose “Convert to Curves”, then save the file.
The file has incorrect dimensions
If the PDF Checker shows this message, it means that the file size does not meet the guidelines provided in our system. The dimensions of files sent for printing must match the sizes listed on the website. The acceptable tolerance is up to 3 mm smaller or up to 1 cm larger. The dimensions provided in the guidelines are checked and take into account the material's stretchability and the width of the printing roll.
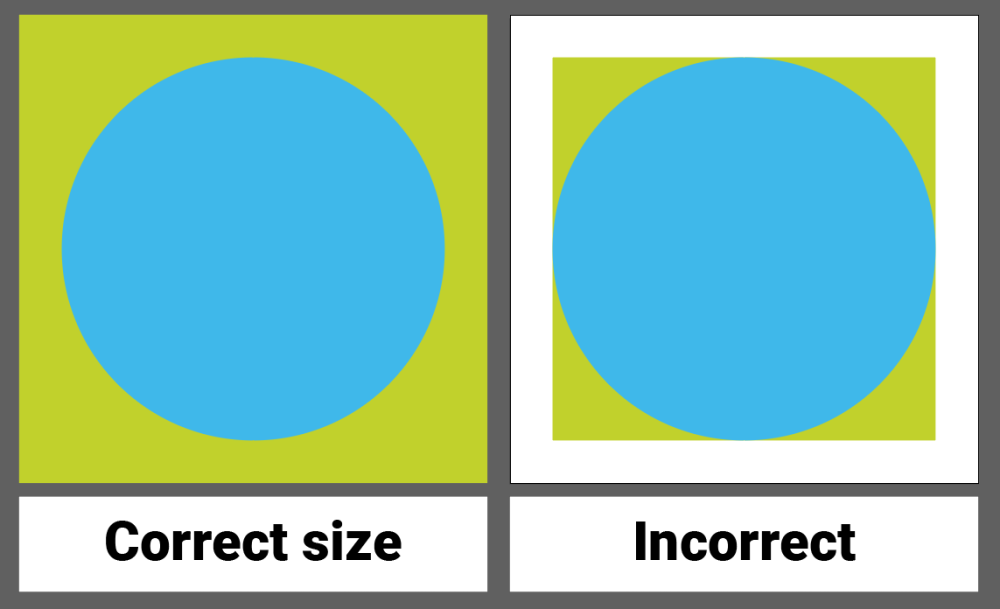
For products that require double-sided printing, remember that the front and back of the design should have the same dimensions. Additionally, all files must have the same gross and net size.
When preparing your design for printing, also pay attention to the required file scale—1:1 or 1:10. If the guidelines specify a scale of 1:10, this has already been considered in the provided dimensions. In this case, you only need to adjust the resolution accordingly.
Solution:
Adobe Photoshop: Open the file, go to the “Image” menu, select “Image Size”, set the correct dimensions, then save the file.
Adobe Illustrator: Open the file, go to the “Object” menu, select “Artboard Size”, set the correct dimensions, then save the file.
Adobe InDesign: Open the file, go to the “File” menu, select “Document Setup”, set the correct dimensions, then save the file.
CorelDraw: Open the file, go to the “Layout” menu, select “Page Setup”, set the correct dimensions, then save the file.
Affinity Designer: Open the file, go to the “Document” menu, select “Document Setup”, set the correct dimensions, then save the file.
Affinity Photo: Open the file, go to the “Document” menu, select “Document Size”, set the correct dimensions, then save the file.
The file contains crop marks or margins
If the PDF Checker shows this message, there is a risk of size mismatch for printing. It is likely that margins or crop marks have been applied to the design. Such additions should not be left in the files, as crop marks are automatically added during the printing process.
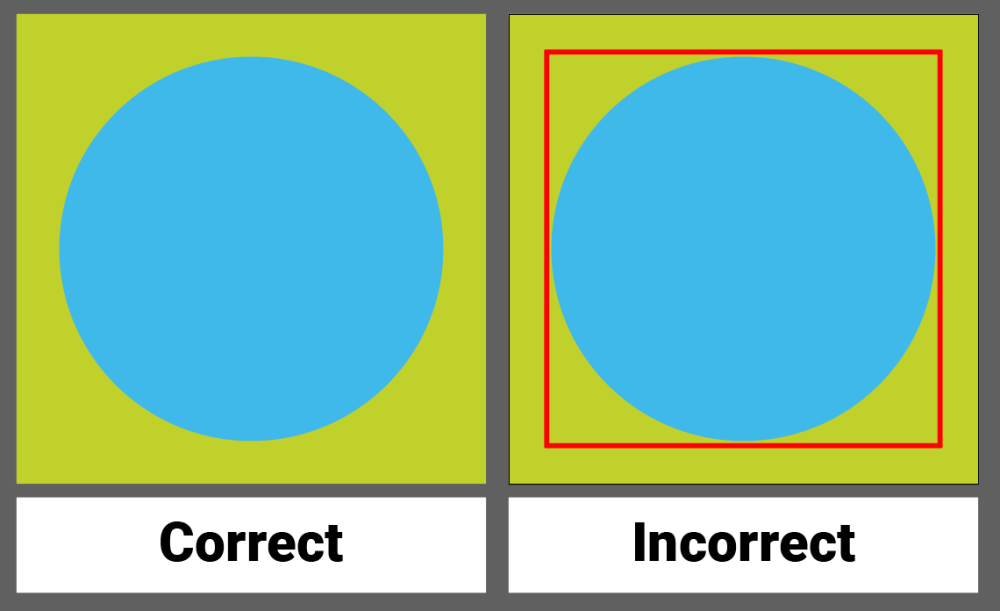
Solution:
Adobe Illustrator: Open the file, remove the protective area frames, then save the file.
Adobe InDesign: Open the file, remove the protective area frames, then save the file.
CorelDraw: Open the file, remove the protective area frames, then save the file.
Affinity Designer: Open the file, remove the protective area frames, then save the file.
Affinity Photo: Open the file, remove the protective area frames, then save the file.
The file has more than one page
If the PDF Checker displays this message, it means the system could not verify your file or found no pages. This error may be caused by unrecognized graphic effects. Make sure the file is not damaged and has been fully downloaded.
Solution:
Check the file for errors or download it again.
The file has layers / has not been flattened
If the PDF Checker shows this message, it means the file has not been flattened to a single layer. This also applies to hidden layers that need to be removed.
Solution:
Check the file for layers and flatten them.
The file cannot be merged with the frame. Please contact customer support.
Ensure the file is not damaged. If the file is working properly, contact customer support.
Solution:
Check if the file is correct, and if the problem persists, contact customer support.
Incorrect file format, please submit files in PDF, PNG, JPG, or TIFF format
If the PDF Checker displays this message, it means the file is saved in the wrong format. We support PDF, TIF, JPG, and PNG files.
Solution:
Save the file in PDF, TIF, JPG, or PNG format.
File preparation for printing – FAQ
Still not sure how to prepare your project for printing? Check out our list of frequently asked questions.
What printing methods do we use?
In our print shop, we use two main printing methods: sublimation printing (pigment-based) and solvent printing.
Why do we print in CMYK and not RGB?
Commercial printers are optimized for working in the CMYK color space. Printing in RGB is possible but may cause differences in saturation and color accuracy. To maintain rich and sharp colors, we print in CMYK.
Can I use PANTONE colors in my project?
You can use PANTONE colors in your project, but you must convert them to CMYK before uploading the file. Our print shop does not support direct PANTONE printing, and automatic conversion may not produce ideal results.
What is overprint?
Overprint is an attribute that causes one color to be printed on top of another. This can lead to unwanted effects, such as color shifts or the disappearance of white elements on dark backgrounds.
Why do I need to convert fonts to outlines?
Non-converted fonts can cause printing errors and issues with displaying text on different devices—such as changing shapes and sizes of letters. To maintain the desired appearance of your design, all editable fonts must be converted to non-editable outlines.
Can I leave margins and crop marks in the file?
No, margins and crop marks must be removed from the file. The correct crop marks will be added automatically during the printing process. Additional margins may cause dimension errors.
How do I check the file before sending it for printing?
Before sending your project, make sure it has the correct dimensions, all fonts are converted to outlines, and the file is saved in the appropriate color space (CMYK) and supported format.
What format should I save the file in for printing?
We support PDF, TIF, JPG, and PNG formats.
What if the PDF Checker still shows errors after making corrections?
If the PDF Checker continues to display errors after you have made corrections, contact customer support. There may be specific technical issues that require additional assistance.


